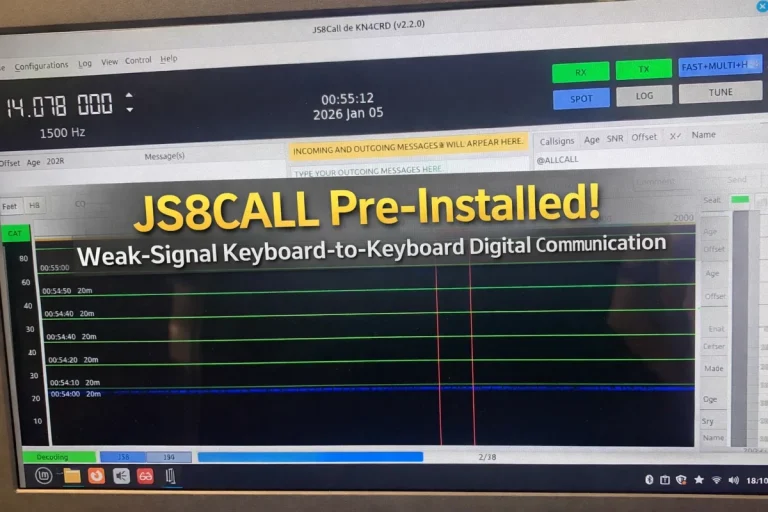
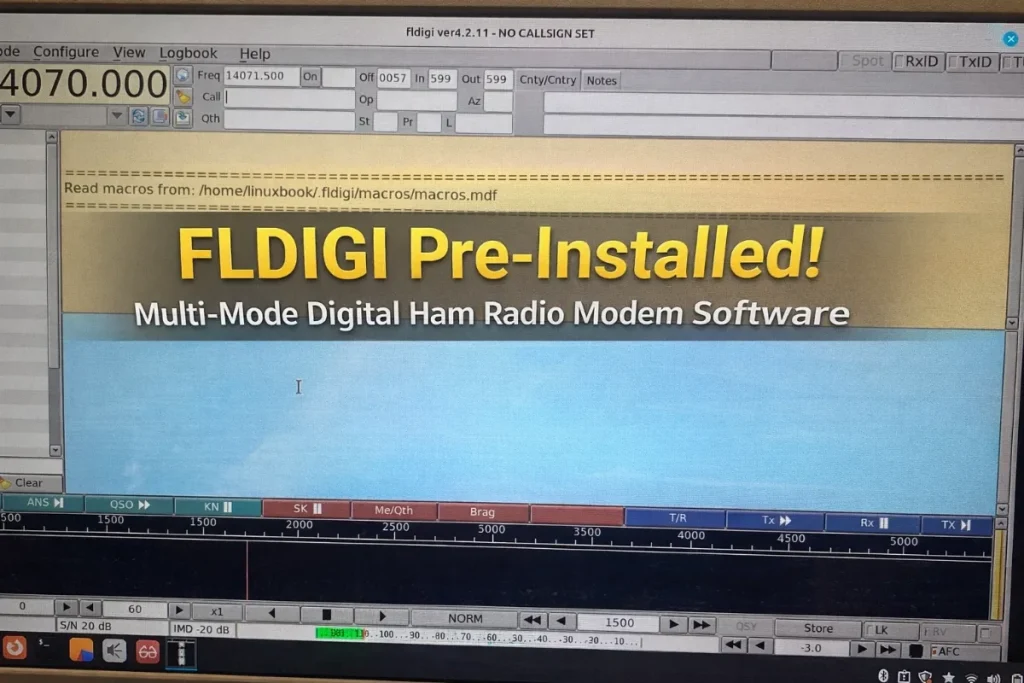
FLDIGI can look busy the first time you open it: a waterfall, text areas, mode names and plenty of controls. You don’t need to learn all of them at once. I’d start by understanding what the program does and getting received audio into it correctly.
What is FLDIGI?
FLDIGI is a digital-mode application that uses a computer’s sound system to turn supported radio signals into readable information and to generate signals for transmission. It can be useful for keyboard contacts and for learning several digital modes from one application.
Its supported modes include PSK, RTTY and Olivia, among others. It does not decode every digital signal you might hear. Choose software for the mode you actually want to use: JS8Call and FT8 operation are different workflows, not interchangeable FLDIGI menu choices. The official FLDIGI manual’s mode index lists the documented modes.
What do you need besides the laptop?
For a typical two-way station, you need a suitable radio, antenna and feed line, as well as a way to carry audio between the radio and computer. That audio interface may be built into the radio or may be a separate box. Use cables specified for the actual equipment.
Audio, radio control and transmit switching have different jobs. Audio carries the signal FLDIGI decodes or generates. CAT/control can let the computer read or change radio settings. PTT switches the transmitter on. A radio may expose audio and control through one physical USB connection, but you still configure those functions separately. The rig-control documentation describes the supported approaches; your radio manual determines which applies.
If you’re deciding what to buy or reuse, start with my laptop and station setup checklist. You don’t need a new laptop simply to ask which connection your existing station requires.
Start with sound, then choose a mode
Begin in receive mode, with transmission disabled. In FLDIGI’s audio configuration, select the input carrying audio from your radio or interface. Check the operating system’s sound routing too: the application should hear the radio, not a room microphone. The output device for transmitting is a separate choice. See the sound-card configuration guide and the initial configuration overview.
The waterfall shows audio activity over time. Signal traces help you see where activity lies within the received audio, but a trace is not automatically decoded text. Select the correct mode and relevant variant, then tune the software to the signal. If another operator or a net has specified a mode, use that information rather than guessing from the display alone.
Watch the audio level as well as the waterfall. Overloaded input can prevent useful decoding, and turning up the volume indefinitely will not solve a wrong mode or device selection. The controls and display guide explains the waterfall, tuning controls and overload indicator.
What are FLRIG, FLMSG and FLAMP?
These are separate companion applications with different purposes. You do not need to master the whole group before receiving your first signal.
- FLRIG handles control of supported transceivers. It can work with FLDIGI, but it is not the audio decoder.
- FLMSG helps create and manage structured message forms. A form is different from an ordinary free-text conversation.
- FLAMP manages file transfers using blocks and checksums, with provision for filling missing blocks. It adds a file-transfer workflow rather than replacing FLDIGI’s sound-card modem.
Questions I’d check first
Why does the waterfall move but the text look wrong?
Check that the received signal matches the selected mode and variant, then check tuning and the input level. Noise or another kind of signal can also make marks on the waterfall. More gain is not always the answer.
Why can the radio receive but not transmit?
Receiving and transmitting use different audio paths. Check the selected output device, the radio’s transmit audio source and its PTT arrangement. Working frequency control does not prove that transmit audio is connected. Use the manuals for your actual radio and interface before trying to transmit.
Can I copy someone else’s settings?
Their setup may use a different radio, interface, driver or software version. Use their example to understand the pieces, then confirm your own devices and equipment instructions. Choose operating settings consistent with your license and local rules; no single power, frequency or radio menu recipe fits everyone.
Make your first session manageable
Pick one supported mode, arrange to listen to activity you can identify, and get the receive path working first. Keep a note of the audio devices and settings that work. If you ask me for help, send the laptop and radio models, interface, operating system, FLDIGI version and a short description of the problem.
I prepare ham radio laptop kits and also discuss software setup on compatible customer-owned laptops. Installed applications are a starting point; the final audio and control settings still depend on your station. The options below explain what is offered.
About the documentation and image
The linked FLDIGI pages identify their manual as version 4.2.00. Use documentation appropriate to your installed release for detailed steps. The earlier listing artwork above shows a software example; neither its pictured version nor a current download establishes which version is on a particular kit.